Drawing a squirrel can be a fun and rewarding activity. With the right techniques and some practice, you can create a cute and realistic squirrel drawing in just a few easy steps. In this article, we’ll go over everything you need to know about how to draw a squirrel step by step.
How To Draw A Squirrel – Let’s Start!

Step 1: Draw the Head
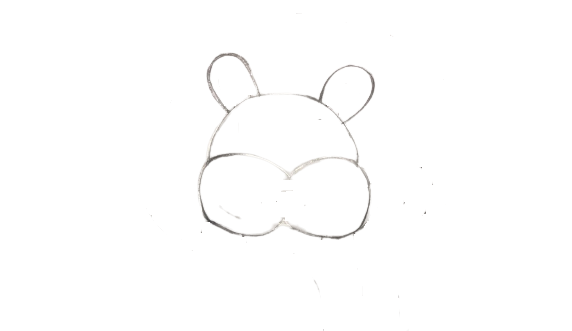
Start by drawing a small circle for the head.
Step 2: Draw the Body
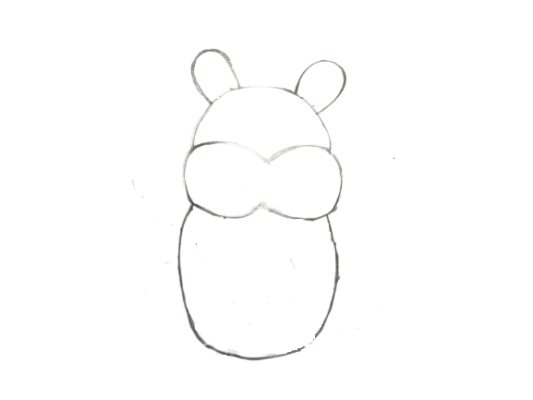
Draw a larger circle below the head for the body. Make sure to overlap the head slightly.
Step 3: Add the Legs
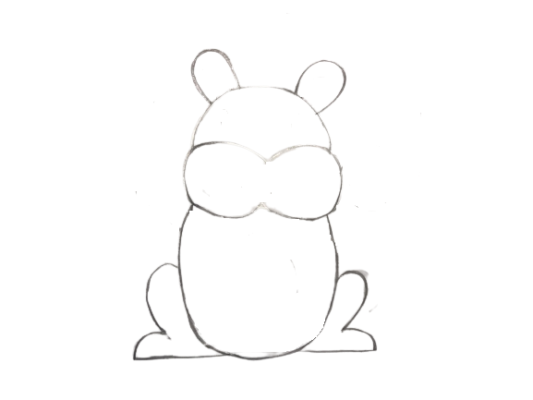
Draw four small lines for the legs. The front legs should be shorter than the back legs.
Step 4: Draw the Tail
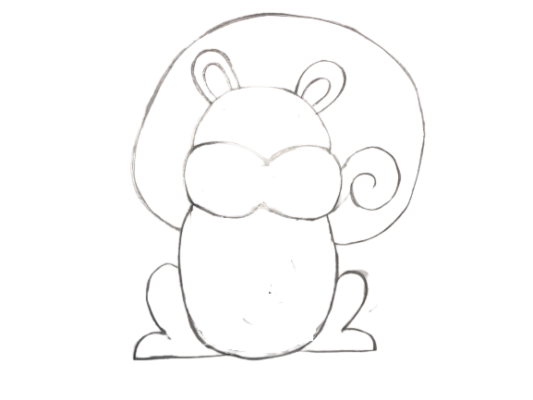
Draw a long, curved line for the tail. It should be fluffy and thick.
Step 5: Add Details
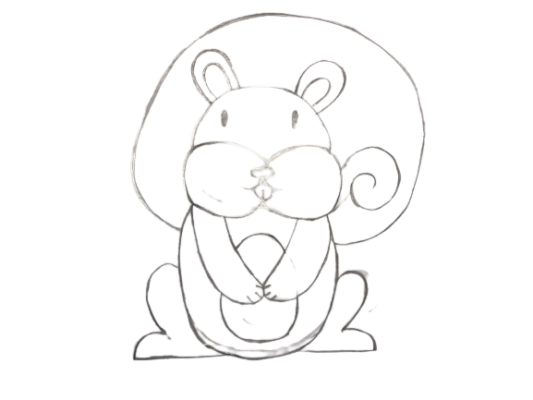
Draw two small circles for the eyes, a small triangle for the nose, and two curved lines for the ears. Add some fur details to the tail and body.
Step 6: Color It In
-
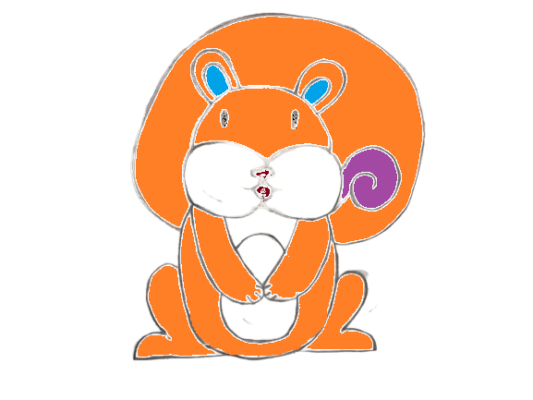
How To Draw A Squirrel Step 6 You can use brown, gray, or reddish-brown for the fur. The belly can be a lighter color than the back.
- Make sure to take your time and add in any additional details that you think will make your squirrel drawing stand out. With a little bit of practice and patience, you can create a cute and realistic squirrel drawing that you’ll be proud to show off.
Conclusion
Drawing a squirrel step by step is a fun and rewarding activity that anyone can enjoy. By starting with basic shapes, sketching in the details, and refining the details, you can create a cute and realistic squirrel drawing in just a few easy steps. Don’t be afraid to experiment with color and shading, adding depth and dimension to your drawing. With practice and patience, you’ll be able to create a wide range of squirrel drawings that capture the beauty and charm of these adorable creatures.
