Drawing larva can be a fun and engaging activity for both kids and adults. Larvae are the immature stages of insects, and they come in various shapes and sizes. Whether you are drawing a larva for fun or for a science project, there are a few key steps to keep in mind. In this article, we will discuss how to draw larva step by step.
How To Draw Larva Cartoon Easy Drawing For Kids

Step 1: Sketch the Basic Shape

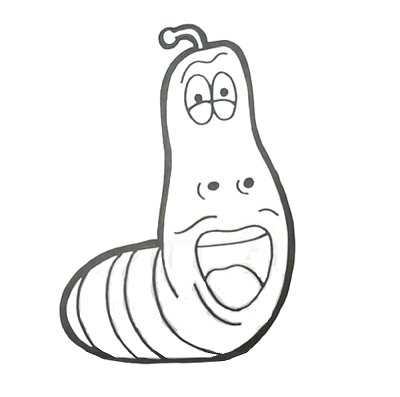
Start by sketching the basic shape of the larva. Most larvae have a cylindrical body with a rounded head and a tapered tail. Use light, gentle strokes to create the basic shape, and don’t worry about adding too much detail at this stage.
Step 2: Add the Segments

Next, add the segments to the body of the larva. Most larvae have a series of visible segments, each with its own set of legs or appendages. Use short, curved lines to create the segments, and be sure to vary the size and shape of each one to make the larva look more realistic.
Step 3: Define the Head and Tail

Once you have the basic shape and segments in place, it’s time to define the head and tail of the larva. The head should be round and slightly larger than the rest of the body. Draw in the eyes, mouth, and any other details you want to include, such as antennae or sensory organs.
The tail should be tapered and may have small appendages or bristles. Again, be sure to refer to your reference image or field guide for specific details about the species of larva you are drawing.
Step 4: Add Texture and Details

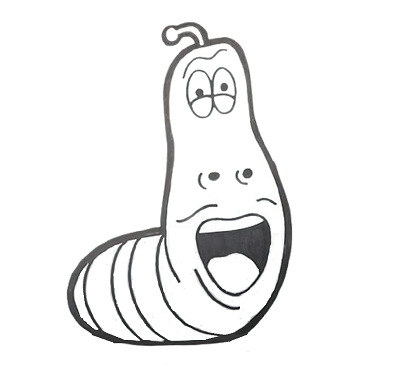
Now that you have the basic structure of the larva in place, it’s time to add some texture and details. Use short, jagged lines to create the appearance of bristles or spines on the body of the larva. You can also add shading and highlights to give the larva a three-dimensional appearance.
If you are using colored pencils or markers, this is the time to add color to your drawing. Most larvae are brown or green, but there are many species with vibrant colors and patterns.
Step 5: Final Touches

Finally, take a step back and review your drawing. Are there any details or textures that need to be added or adjusted? Does the larva look realistic and three-dimensional? Make any final touches or adjustments as needed, and then sign your name to your work of art.
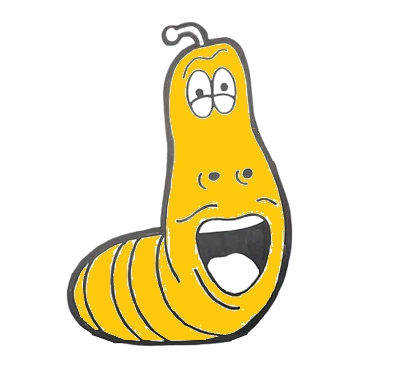
Step 6: Color Larva

Erase any unnecessary lines and color your larva in any way you like.
Tip On How To Draw Larva
- Start with Basic Shapes: Begin your drawing with simple shapes, such as circles and ovals, to establish the overall form of the larva. Gradually add more details as you progress.
- Study Reference Images: If you are drawing a specific species of larva, it is helpful to study reference images or illustrations to get an idea of the larva’s physical characteristics and color patterns.
- Pay Attention to Details: Pay attention to small details, such as the placement of legs or the shape of the antennae. These details can make a big difference in the overall look of your drawing.
- Use Light Strokes: Use light strokes when sketching the larva so that you can easily make adjustments as you go. Once you are satisfied with the overall form, you can add more definition with darker strokes.
- Experiment with Colors: While most larvae are brown or green, don’t be afraid to experiment with different colors and color combinations to make your drawing more interesting and unique.
- Don’t be Afraid to Make Mistakes: Remember, drawing is a learning process, and making mistakes is a natural part of that process. Don’t be afraid to erase and start over if something isn’t quite right.
FAQs On How To Draw Larva
Q: What is a larva?
A: A larva is the immature stage of an insect. It is usually worm-like in appearance and undergoes metamorphosis to transform into an adult insect.
Q: What materials do I need to draw a larva?
A: You will need paper, a pencil, an eraser, and a set of colored pencils or markers.
Q: Can I draw any type of larva?
A: Yes, you can draw any type of larva you like. However, if you are drawing a specific species, it is important to study reference images or illustrations to get an idea of the larva’s physical characteristics and color patterns.
Q: How do I create texture on the body of the larva?
A: Use short, jagged lines to create the appearance of bristles or spines on the body of the larva.
Q: Can I add color to my larva drawing?
A: Yes, you can add color to your larva drawing using colored pencils or markers. Most larvae are brown or green, but there are many species with vibrant colors and patterns.
Q: Do I need to be an expert at drawing to draw a larva?
A: No, you do not need to be an expert at drawing to draw a larva. With practice and patience, anyone can improve their drawing skills and create detailed and accurate drawings.
Your Larva Is Completed!
Drawing larva can be a fun and educational activity for people of all ages. By following these simple steps, you can create a detailed and realistic drawing of a larva. Whether you are drawing for fun or for a science project, take the time to gather your materials, sketch the basic shape, add the segments, define the head and tail, add texture and details, and make any final touches or adjustments. With practice, you can become an expert at drawing larva and other insects, and impress your friends and family with your artistic skills.
