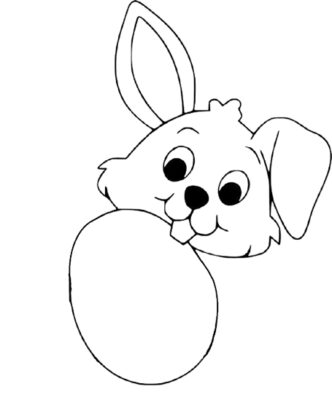
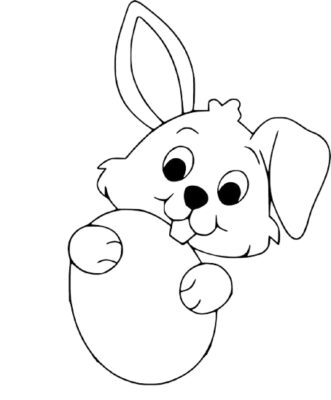
Easter is a holiday that brings joy and happiness to many people. One of the most beloved symbols of Easter is the Easter bunny. Drawing a cute Easter bunny can be a fun and rewarding activity, especially if you are spending the holiday with children. In this article, we will provide you with a step-by-step guide on how to draw an Easter Bunny.
How to Draw an Easter Bunny Step by Step

Step 1: Sketch the bunny’s body

Begin by drawing a circle for the bunny’s head and an oval for its body. The head should be slightly larger than the body. Draw two lines down from the head to create the bunny’s neck. Sketch two large, pointed ears on top of the head.
Step 2: Draw the bunny’s face

Next, draw the bunny’s face. Start by adding two small circles for the eyes. Draw a smaller circle inside each eye for the pupils. Add a triangle shape below the eyes for the bunny’s nose, and a small line for the mouth.
Step 3 Hand Draw the Easter bunny

Time to add the bunny arms, Draw two circles for the hands, then add the finger details.
Step 4 Draw the bunny’s legs:

Draw the bunny’s paws and legs, adding in some cute details such as bunny toes.
Step 5: Shade and Add the bunny’s details

Now, it’s time to add the details that will make your Easter bunny come to life. Once you have completed the outline of your Easter bunny, you can add some shading and color to bring it to life. Shade the body of the bunny with a light layer of pencil or marker.
Step 6: Color Easter bunny

Use a darker shade to add shadows and depth to the bunny’s ears, nose, and paws. You can add color to your bunny with colored pencils, markers, or paints.
Tip On How to Draw a Easter Bunny
- Use reference images to help with proportions and pose.
- Start with basic shapes to get the proportions right, and then refine the details as you go along.
- Pay attention to the curves and lines of the body to create a realistic pose.
- Don’t be afraid to experiment with different poses, expressions, and colors.
- Practice regularly to improve your skills.
FAQs On How to Draw a Easter Bunny
Q: What materials do I need to draw an Easter bunny?
A: You will need a drawing pencil, eraser, drawing paper, and any other tools you may find useful, such as colored pencils or markers.
Q: Can I draw an Easter bunny without any references?
A: While it is possible to draw an Easter bunny without any references, it can be helpful to use a reference image to help with proportions and pose.
Q: How do I draw the bunny’s fur?
A: To draw the bunny’s fur, use short, light strokes with your pencil to create a fluffy texture. You can also use a blending tool, such as a tortillon or blending stump, to blend and soften the lines.
Q: What colors should I use for my Easter bunny?
A: You can use any colors you like for your Easter bunny, but traditional colors include pastel shades such as pink, blue, and yellow.
Q: How can I add depth to my Easter bunny drawing?
A: To add depth to your Easter bunny drawing, use shading techniques to create shadows and highlights. This will help to create a three-dimensional effect and make your bunny look more realistic.
Q: How can I improve my drawing skills?
A: Practice regularly and try new techniques. Take classes or watch tutorials to learn new skills and get feedback on your work. Don’t be afraid to make mistakes, as they can help you learn and improve.
Q: Is it necessary to have a lot of artistic talent to draw an Easter bunny?
A: No, it is not necessary to have a lot of artistic talent to draw an Easter bunny. Anyone can learn to draw with practice and dedication. It is important to remember that everyone starts somewhere, and even professional artists had to practice and learn to improve their skills.
Your Easter Bunny is Completed!
Drawing an Easter bunny can be a fun and rewarding experience, whether you are a beginner or an experienced artist. By following these steps and tips, you can create a cute and charming Easter bunny that will delight children and adults alike. Remember to practice regularly and have fun with your drawings. Happy Easter and happy drawing!
