Creating a Cute dog Drawing In Seven Easy steps
(Meta) A dog has many small details, so you have to stay focused on those things in each body part. The guide how to draw a dog may help you.
Dog Drawing is not difficult. However, it would be more complex if you want to draw a dog breed. The image will require hundreds of lines and rounded shapes in the detail. The guide on how to draw a dog is suitable for kids and those who do not have drawing skills.
How to draw a dog – follow these steps

A dog is an adorable character in the kid’s eyes. Most of the cartoons contain dogs in the story. This is the reason children love dogs so much. They also want to draw a dog and tell the involved story. If your kids love drawing and the dog, it could be the time to have a seat, try a drawing piece, and enjoy the drawing result. Here are a few basic steps.
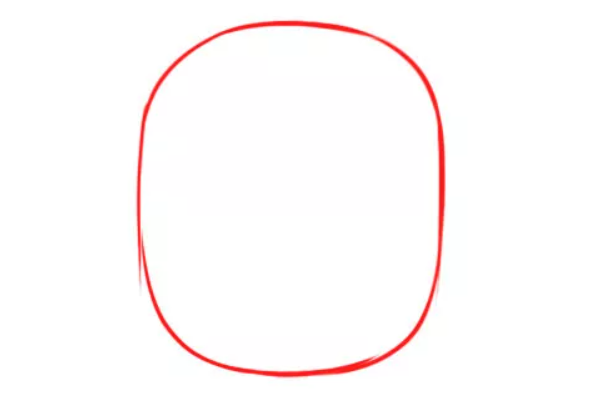
Step 1: Start drawing a head

You depict the dog’s head by creating a circle. Make the circle in the middle of the paper because you will draw the body after that. You ought to make the head an oval or a little square. If the head is round, it could be a perfect one.
Step 2: Continue to create the head, face, and the nose

Draw the letter “U” by using an arched line to separate the head and muzzle. Make the nose by using a round line and triangular shapes.
Step 3: Go to the details of the face

The dog’s face lacks a mouth and eyes. Thus, this step will help you to do that. Use the upper line to draw the mouth (below the nose). Then, you should create eyes by making arched lines.
Step 4: Keep drawing up with the mouth

The mouth is not completed, so you should do something. Use a U-shaped line to create the mouth. Do not forget to make rounded brows above the eyes (in the third step, we have had the eyes).
Step 5: Move to the ears

Once you have gotten the face details, you can move to the dog’s ears. Draw a few simple lines to portray the ears. They could become at the top of the head.
Step 6: Draw the legs

Why do not we draw the body instead of the legs? This is because it is easier to make their legs before drawing the body. Simply use some lines to depict the first two legs. They should be more rounded.
Step 7: Continue to the second two legs

After completing the first two legs, you could draw the second two legs. They could be the second front legs. Delineate a small and light line from the chest line between the first two legs.
Step 8: Focus on the details of the chest and the back

Though you have drawn the body with the back and the chest, these are not clear. So, this step possibly does that requirement. Make a couple of curved lines to display both the chest and the back.
Step 9: Continue some lines of the chest and back

As a dog has four legs, so we should highlight the chest and back distinctly. Both the chest and the back depict the body.
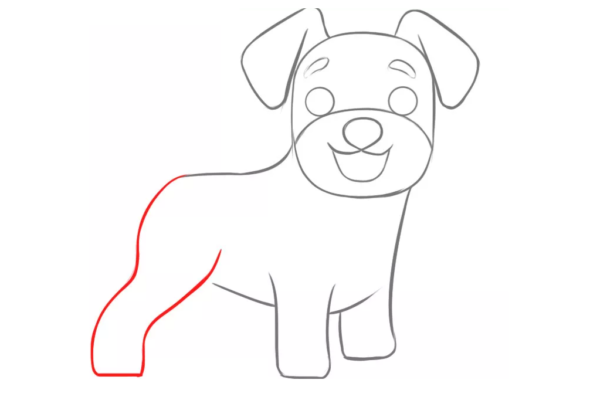
Step 10: Move to the hind leg

Use a slightly curved line to create the part of the second hind leg. It looks like the dog is standing.
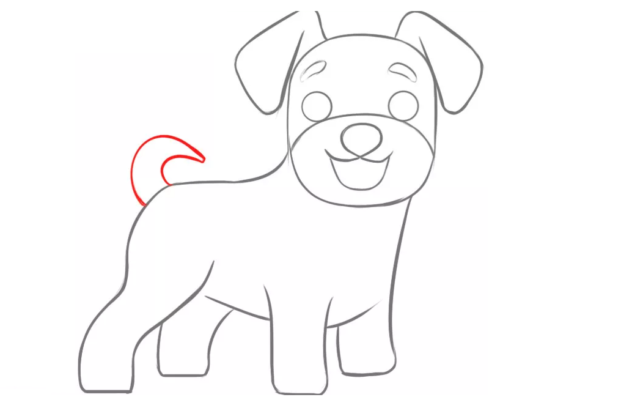
Step 11: Draw the tail

Once you have finished their four legs, you could add the tail. Draw a couple of curved lines.
Step 12: Add colors to complete the final drawing

Depending on your favorite colors; you can select some colors in your dog drawing. Do not forget to draw round lines to make their eyes clearer. For example, use brown for painting the chest and back. Add the beige to the eyebrows and muzzle. Eyes always should be black. The inside ears could be light pink.
Your Dog Drawing Is Complete
You are probably amazed at drawing the dog, but remember to prepare art materials. Pieces of paper, colored crayons or watercolor set, pencils (light and dark ones), an eraser, and a dark marker. To make your drawing more real, you ought to create shadows and textures. Illustrate claws, fingers, and hair. You can refer to some drawing guides such as chicken drawing or bird drawing on our site Coloringgamesonline.com
