Butterflies are one of the most beautiful and captivating creatures in the animal kingdom. They come in a variety of shapes, colors, and sizes, making them the perfect subject for artists of all levels. If you want to learn how to draw a butterfly step by step, then you’ve come to the right place. In this article, we’ll guide you through the process of creating a stunning butterfly drawing that you can be proud of.
How To Draw A Butterfly – Let’s Start!

Step 1: Sketch the Basic Shape of the Butterfly
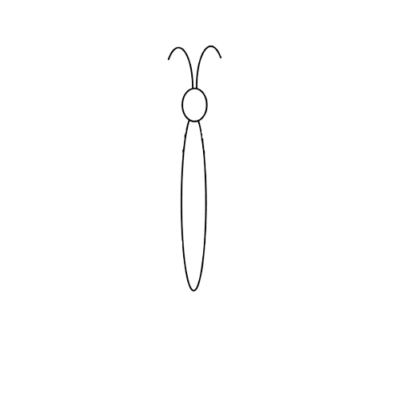
To start drawing your butterfly, you’ll need to sketch its basic shape. Begin by drawing a small oval shape for the head, and then draw two long ovals on either side of the head for the wings. Make sure that the wings are proportional to the head and that they are symmetrical. You can use a ruler to help you draw straight lines.
Step 2: Add Details to the Wings
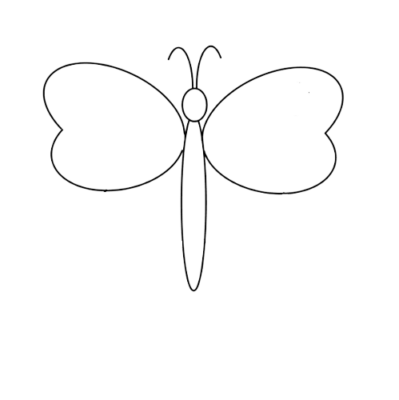
Once you have the basic shape of the butterfly sketched out, it’s time to add some details to the wings. Butterflies are known for their intricate wing patterns, so this is where you can get creative. Start by drawing a curved line down the center of each wing. Then, draw smaller, curved lines branching off of the center line. These lines will create the vein-like structures that give the wings their texture.
Next, draw some larger shapes along the edges of the wings. These shapes can be oval or triangular and will form the larger sections of the wing pattern. Again, be creative with your shapes and try to make them symmetrical on both sides.
Step 3: Add More Detail to the Wings
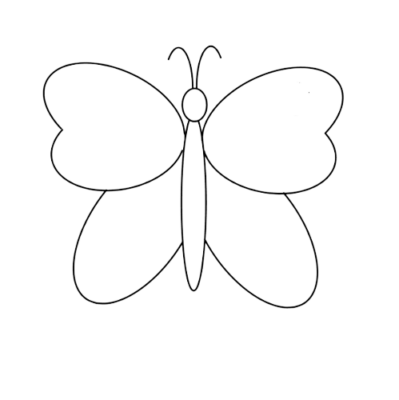
Now that you have the basic wing pattern in place, it’s time to add more detail. Use your pencil to shade in some of the larger sections of the wing pattern, creating a gradient effect. This will give the wings a more realistic look.
Next, add some smaller details to the wings. Draw some circles, dots, or other small shapes in between the larger sections of the wing pattern. This will create a more intricate and interesting wing pattern.
Step 4: Draw the Butterfly’s Body
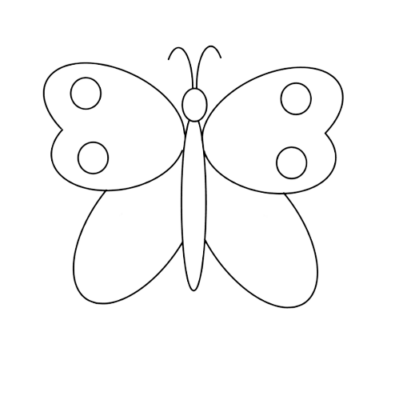
Now that the wings are complete, it’s time to draw the butterfly’s body. Draw a long, thin oval shape for the body, starting at the bottom of the head and ending near the bottom of the wings. Draw a smaller oval shape at the top of the body for the butterfly’s thorax.
Next, add some details to the body. Draw some small, thin lines along the length of the body to create the butterfly’s exoskeleton. Then, draw two small circles at the top of the thorax for the butterfly’s eyes.
Step 5: Add the Finishing Touches
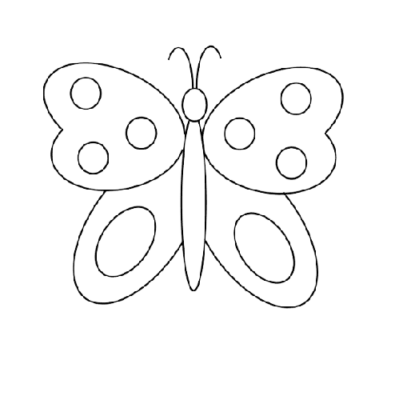
Finally, it’s time to add the finishing touches to your butterfly drawing. Use your eraser to gently remove any stray pencil marks or smudges. Then, you can choose to color in your butterfly with colored pencils or markers. Butterflies come in a wide range of colors, so you can get as creative as you like.
Step 6: Coloring
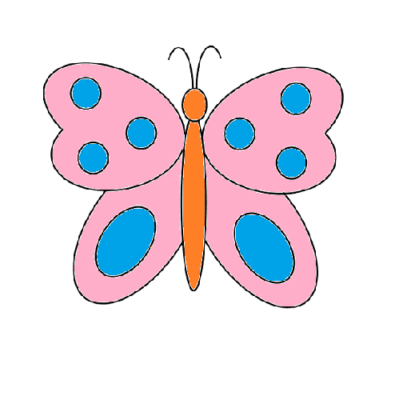
If you’re using colored pencils, start by shading in the larger sections of the wing pattern with the lightest color. Then, gradually add darker shades to create a gradient effect. Use a white colored pencil to add highlights to the wings and body.
If you’re using markers, start by coloring in the larger sections of the wing pattern with the lightest color. Then, use darker shades to create a gradient effect. You can also add some texture to the wings by coloring in small circles or dots with a darker color.
Once you’re happy with the colors, you can add some final details to your butterfly. Use a black or dark-colored pencil or marker to outline the wings and body, creating a bold, crisp line. You can also add some shadows to the wings and body by shading in some areas with a darker color.
And there you have it – a beautiful butterfly drawing that you created step by step! With a little practice, you’ll be able to draw all kinds of butterflies and experiment with different colors and patterns. Don’t be afraid to make mistakes – drawing is all about experimenting and having fun.
Some Tips On How To Draw A Butterflies
- Look at pictures of real butterflies for inspiration. There are thousands of butterfly species in the world, each with its unique colors and patterns. You can use these pictures as a reference when drawing your butterfly.
- Experiment with different colors and patterns. Butterflies come in all kinds of colors, so don’t be afraid to get creative with your drawing. Try using bold colors, pastel shades, or even metallic colors to create a unique butterfly.
- Practice drawing different butterfly species. Each butterfly species has its unique wing shape and pattern, so practicing drawing different species will help you improve your drawing skills.
- Use shading and texture to add depth to your drawing. Shading can make your drawing look more realistic and add depth to the wings and body. Use small circles or dots to add texture to the wings.
- Don’t be afraid to make mistakes. Drawing is all about experimenting, and sometimes you’ll make mistakes. Don’t worry about it – just keep practicing and have fun!
Drawing a butterfly is a fun and rewarding experience that can help you improve your drawing skills. By following the steps outlined in this article, you can create a beautiful butterfly drawing that you can be proud of. Remember to have fun, experiment with different colors and patterns, and don’t be afraid to make mistakes. With a little practice, you’ll be able to draw all kinds of butterflies and create your unique butterfly drawings. Happy drawing!
